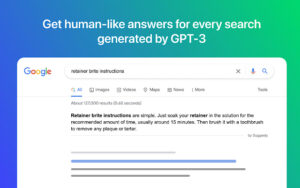
Looking for an AI assistant to help you with your browsing experience? Look no further than Monica! With the Monica AI extension, you can easily enhance your browsing experience and streamline your workflow.
What Is Monica AI?
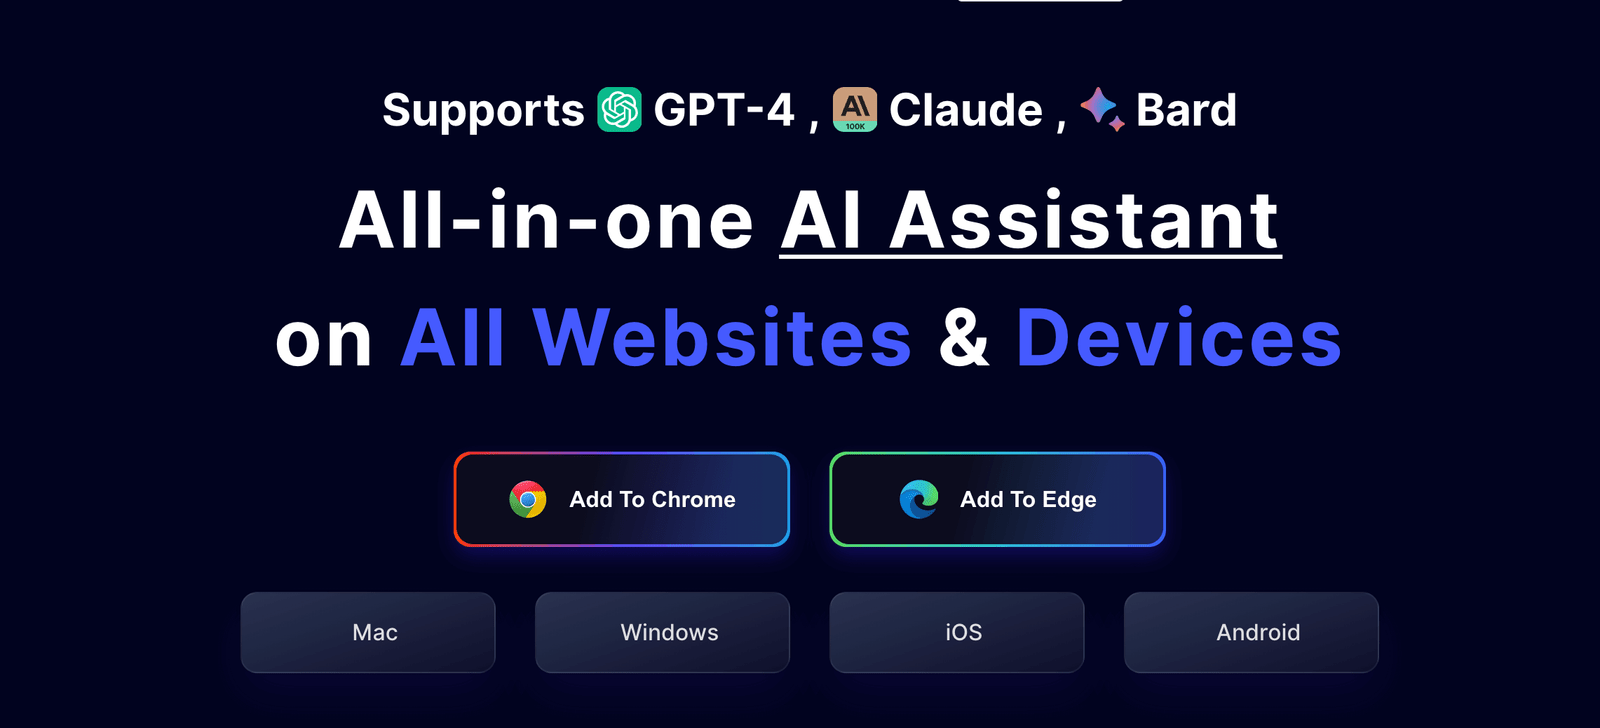
Monica AI is a personal AI assistant powered by ChatGPT API that is designed to enhance your browsing experience and streamline your workflow. With the Monica AI extension, users can chat with the AI assistant, receive support, and even receive copywriting assistance. Monica AI is a powerful tool that can help users save time and improve their productivity. It supports ChatGPT-4, Claude, and Google Bard AI tools.
How To Add Monica AI To Chrome
1. Open your Google Chrome browser and go to https://chrome.google.com/webstore/category/extensions
2. In the search bar, type “Monica AI” and press enter.
3. From the search results, select the extension name and click on Add to Chrome.
4. A pop-up window will appear asking you to confirm the installation. Click “Add extension” to proceed.
5. Once the installation is complete, you will see the Monica AI icon in the top right corner of your browser window.
6. Click on the Monica AI icon to open the AI assistant and start chatting with it.
7. Alternatively, you can hit Cmd+M or Ctrl+M to open the chat window with Monica AI.
How To Remove Monica AI From Chrome
1. Open your Google Chrome browser.
2. Click on the three vertical dots in the top right corner of your browser window to open the Chrome menu.
3. Select “More tools” from the menu and then select “Extensions.”
4. Locate the Monica AI extension from the list of installed extensions.
5. Click on the “Remove” button next to the Monica AI extension.
6. A pop-up window will appear asking you to confirm the removal. Click “Remove” to proceed.
7. Once the removal is complete, the Monica AI extension will be removed from your Google Chrome browser.
How To Add Monica AI To Firefox Browser
1. Open your Firefox browser and go to the https://addons.mozilla.org/en-US/firefox/
2. In the search bar, type “Monica AI” and press enter.
3. From the search results, select Monica AI.
4. A pop-up window will appear asking you to confirm the installation. Click “Add” to proceed.
5. Once the installation is complete, you will see the Monica AI icon in the top right corner of your browser window.
6. Click on the Monica AI icon to open the AI assistant and start chatting with it.
7. Alternatively, you can hit Cmd+M or Ctrl+M to open the chat window with Monica AI.
How To Remove Monica AI From Firefox Browser
1. Open your Firefox browser.
2. Click on the three horizontal lines in the top right corner of your browser window to open the Firefox menu.
3. Select “Add-ons” from the menu.
4. Locate the Monica AI extension from the list of installed extensions.
5. Click on the three-dot icon next to the Monica AI extension and select “Remove” from the drop-down menu.
6. A pop-up window will appear asking you to confirm the removal. Click “Remove” to proceed.
7. Once the removal is complete, the Monica AI extension will be removed from your Firefox browser.
How To Add Monica AI To Microsoft Edge Browser
1. Open your Microsoft Edge browser and go to the https://microsoftedge.microsoft.com/addons/.
2. In the search bar, type “Monica AI” and press enter.
3. From the search results, select the name from the result and click on the “Get” button.
4. A pop-up window will appear asking you to confirm the installation. Click “Add extension” to proceed.
5. Once the installation is complete, you will see the Monica AI icon in the top right corner of your browser window.
6. Click on the Monica AI icon to open the AI assistant and start chatting with it.
7. Alternatively, you can hit Cmd+M or Ctrl+M to open the chat window with Monica AI.
How To Remove Monica AI From Microsoft Edge Browser
1. Open your Microsoft Edge browser.
2. Click on the three horizontal dots in the top right corner of your browser window to open the Edge menu.
3. Select “Extensions” from the menu.
4. Locate the Monica AI extension from the list of installed extensions.
5. Click on the gear icon next to the Monica AI extension and select “Remove” from the drop-down menu.
6. A pop-up window will appear asking you to confirm the removal. Click “Remove” to proceed.
7. Once the removal is complete, the Monica AI extension will be removed from your Microsoft Edge browser.
FAQs
Is Monica AI free?
Yes, Monica AI is free to use.
Does Monica AI extension work on all browsers?
No, Monica AI is currently only available as a Chrome, Firefox, and Microsoft Edge browser extension.
How do I start chatting with Monica AI?
To start chatting with Monica AI, click on the Monica AI icon in the top right corner of your browser window or hit Cmd+M or Ctrl+M.
Does Monica AI store my chat history?
Yes, Monica AI stores your chat history to improve its performance and provide better recommendations.
Can I delete my chat history with Monica AI?
Yes, you can delete your chat history with Monica AI by going to the settings and selecting “Clear chat history.”
Can Monica AI be used for educational purposes?
Monica AI can be used for educational purposes such as creating quizzes, flashcards, and summaries.
Is Monica AI safe to use?
Monica AI is safe to use and does not sell your information, other users will not see your interaction with the AI extension.
Conclusion
Adding Monica AI to your browser is a simple process that can enhance your browsing experience and streamline your workflow. With Monica AI’s powerful AI capabilities, you can chat effortlessly, get copywriting assistance, and even compose and insert text into any web page. The extension is available for Chrome, Firefox, and Microsoft Edge browsers and is completely free to use. Simply search for Monica AI in your browser’s extension store, add it to your browser, and start chatting with your personal AI assistant today. With Monica AI by your side, you can save time and increase productivity like never before!
